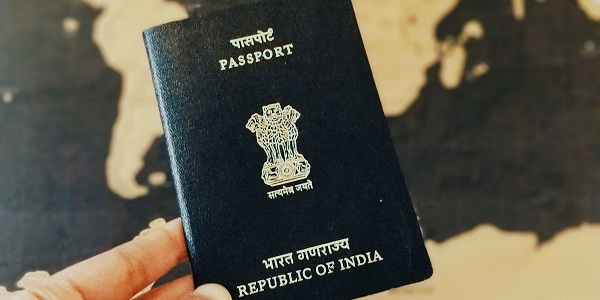
As opposed to earlier, applying for a passport has gotten increasingly easier. Thank digitization which has not only made the process faster but a whole lot secure as well. A passport is an essential document that is needed to travel internationally.
Not only does a passport serve to help you travel abroad, but it also serves to be one of the most ultimate photo ID proof and residence proof as well. It stands to be one of the most important documents indicating citizenship.
If you do not have your own passport yet, in this article we tell you how to go about it, and more about passports.
How to apply for a passport online?
There are certain steps that need to be followed while applying for a passport online. These steps are as follows:
Step 1 – Passport Seva log in
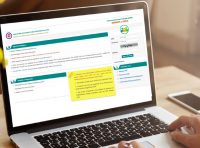
- The applicant has to visit the official website of the Passport seva.
- The applicant would then have to click on the ‘Apply’ button on the homepage
- If the applicant is a first time user, the applicant would have to first register himself/herself on the website and create an account.
How to register online for the Passport seva?
- Click on the ‘register now’ button under the ‘New user’ tab
- Enter the login ID and password and then enter the captcha code and click on the register option.
Step 2 – Choosing the application type
Once the applicant has logged in to the Passport Seva website, the applicant will have to choose the relevant service from the myriad services offered. You can choose for any of the following, as per your requirement
- Fresh passport/passport re-issue
- Diplomatic passport or official passport
- Police clearance certificate (PCC)
- Identity certificate
Step 3 – filling in the application form
Filling of the application form can be done both online and offline as well. In order to fill in the application form, the applicant has to follow the following steps:
- Click on the link provided to download the application form in soft copy
- A link to an electronic copy of the following forms will open up. The applicant has to download only that form which is relevant to the applicant based on the preferred application type:
- Fresh or reissue
- Police clearance certificate
- Diplomatic or official passport
- Identity certificate
Fill in the application e-form and click on the option, “Upload e-form”. Upload the filed in application form in the section provided.
As an added benefit, the applicant can also partially fill in the form, save it as a draft and submit it later. The only thing to ensure is that the applicant must have filled in all the details accurately before submitting, as the details offered on the form will be verified. If they do not verify as per the documents you provided, the applicant’s entry might be rejected.
Step 4 – Schedule, pay, and book the appointment
Passport requires thorough verification of your documents. With the digitization of the whole process, it has gotten streamlined and convenient.
After filling in the form, the applicant will get an option to schedule an appointment at the nearest Passport seva kendra or PSK.
Here is how you can book your appointment
- Go the to “Applicant home” page and click on the option, “View saved / submitted applications”
- The submitted application form details will be displayed. Choose the ARN of the form you have submitted
- Click on the option ‘Pay and schedule Appointment’ option from the options provided
- Choose the mode of payment, among the two provided – online payment and challan payment.
If the applicant has chosen the option to pay online, the applicant can move on to booking the appointment immediately. However, if the applicant has chosen to pay through challan, the applicant would have to follow the following
- Take the challan to the SBI branch and pay the amount in cash (note: this can only be done after 3 hours of challan generation, which is ideally valid for 85 days).
- The applicant would, after paying the amount, have to collect a copy of the challan from the receiving bank personnel
- The bank takes round about 2 working days to verify the ARN details which would be provided on the challan
- Successful payment of the challan will be reflected on the website post verification where the applicant can then ‘track the payment status’. An email confirming the same will also be sent to your registered email address.
Step 5 – Scheduling the appointment
Once the applicant has paid the money through either debit/credit card or challan, the applicant will come on to the scheduling the appointment page.
- On the ‘Pay and schedule appointment’ page, the applicant will have to select the PSK of choice
- The applicant will also have to choose from the convenient slot from the available dates mentioned. On the same section, the applicant is also needed to select a PSK based on the available date
- The applicant has to confirm the appointment slot by entering the CAPTCHA code
- The applicant would then have to ‘Pay and Book the appointment.’
- Application details like ARN, name, type of application, the amount that needs to be paid, contact number, and appointment day and date will be displayed to the applicant
- If the applicant has chosen to pay online, the applicant will be redirected to the payment gateway.
On the successful completion of payment, the applicant will receive a confirmation of the appointment and an appointment number. An SMS with the details will also be sent to the applicant. The applicant is supposed to print a copy of the application receipt.
All PSKs now accept the SMS as proof enough for the appointment as well.
In conclusion
The method to apply for passport online has gotten incredibly easy for anyone willing to get a passport. In this day and age when practically everything is online, why should availing a passport be a regressive process?
With the passport procedure becoming online, more people are now encouraged to get the ultimate proof of identification issued on their names, with of course, utmost ease.